This page takes instructors through the process of setting up, recording, editing and publishing video recordings, and provides other technical considerations for creating active and engaging classroom experiences using video. While these best practices are meant for recorded presentations, they are also helpful for conducting Zoom video sessions.
This process may require several iterations of practicing and recording before producing an effective video. See our resource on creating effective education videos for more tips and strategies. CTL Learning Designers are also available to assist you.
Setting Up Your Room and Camera
Room Considerations:
- Make the room as quiet as possible. Turn off anything that produces unwanted sound such as air conditioning, water coolers, or overhead lights that produce a hum; the microphones will pick up those noises.
Camera:
- Avoid a cluttered background to ensure that your viewer’s attention remains focused on you. You can achieve this by removing any distracting elements or by hanging a fabric or paper backdrop behind you.
- Keep the camera at eye level. A camera placed looking up at your face creates an unflattering image. If you have a standing desk, adjust the height accordingly. Otherwise you can use books or another level surface to raise the camera up to eye level.

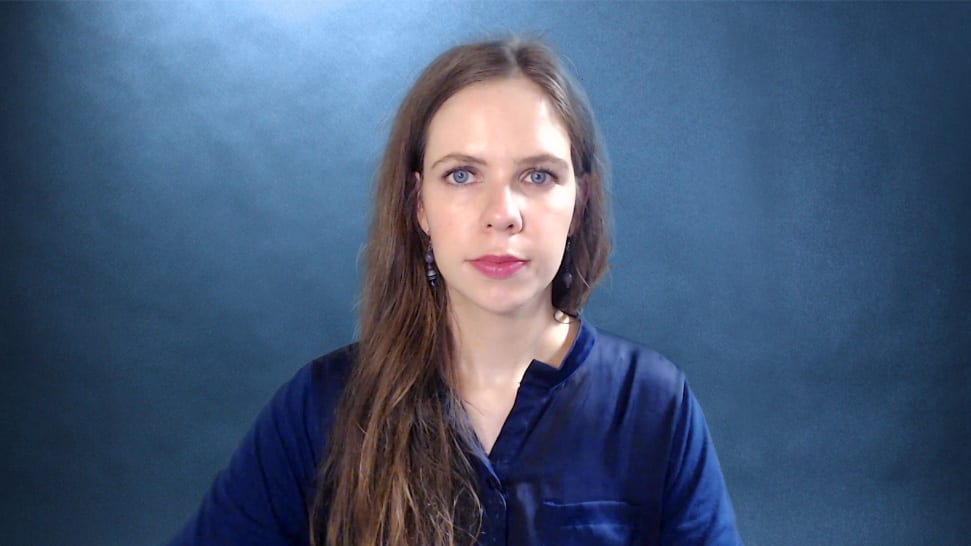
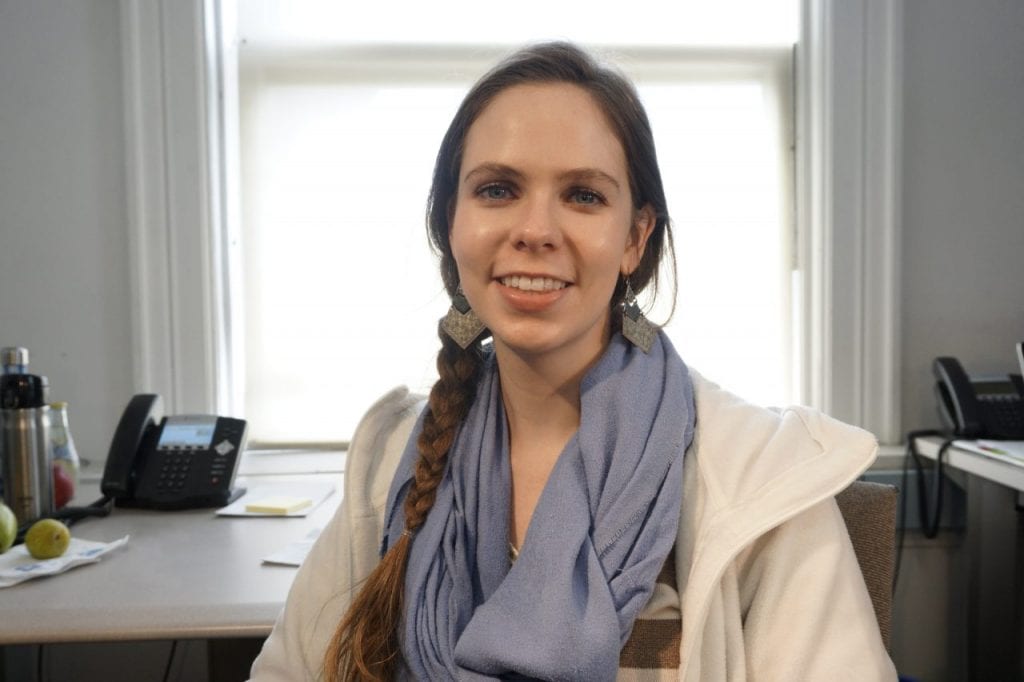
Avoid placing the camera too low, looking up at the face as shown in the top-row images. The bottom row images show the correct placement with the camera at or just above eye level. Note the use of a backdrop as well.
Lighting
- Use soft, evenly balanced light such as a simple desk lamp with soft-white bulb. Consider use of a lamp shade or paper cut-outs to diffuse the light. This will help eliminate any harsh shadows. (Note: Incandescent bulbs get hot! Consider using fluorescent bulbs or LED bulbs instead. A low-cost LED light panel is also a great option.)
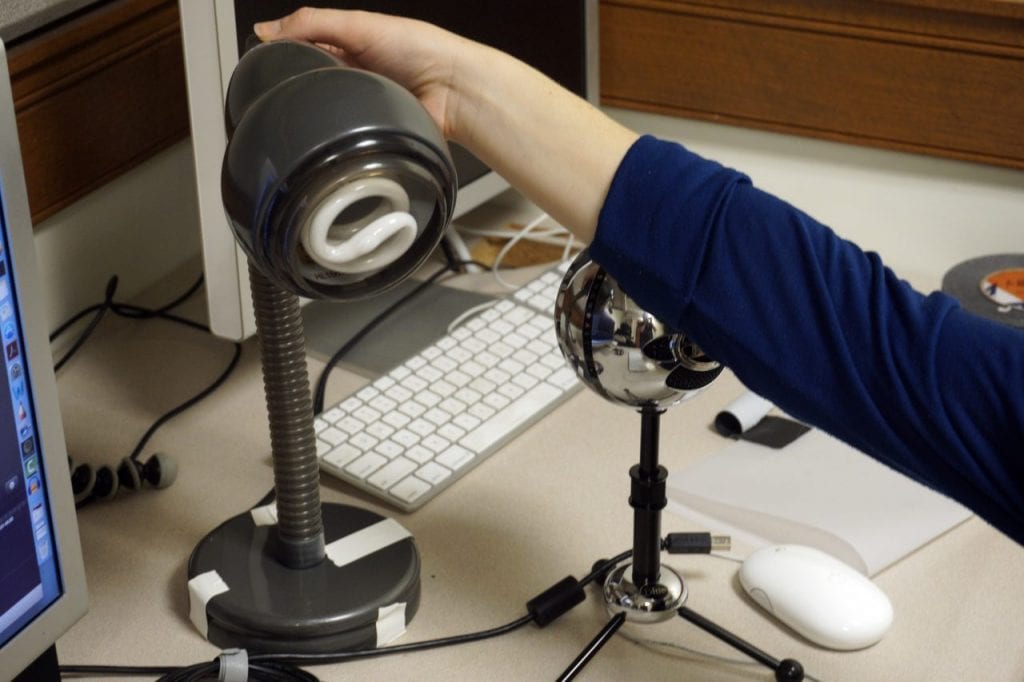
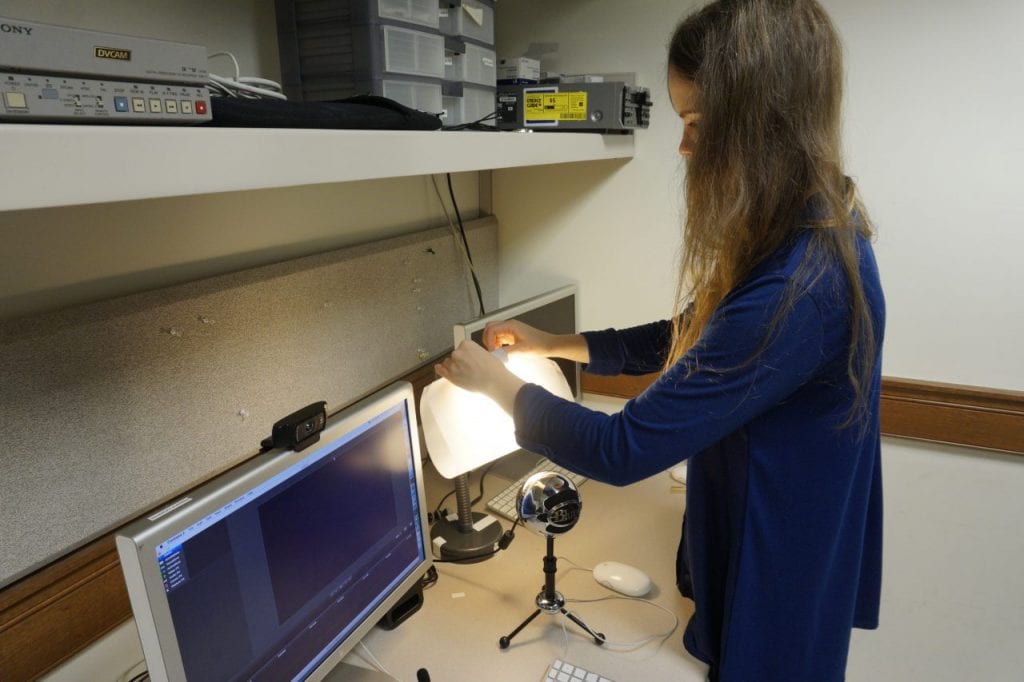
A simple desk lamp (left) with a fluorescent or LED light bulb is a great option for lighting. Use paper cutouts or a lampshade (right) to further diffuse the light.
- DO keep the light source facing you. DO NOT place the main light source behind you. Back lighting subjects will be silhouetted and in shadow.
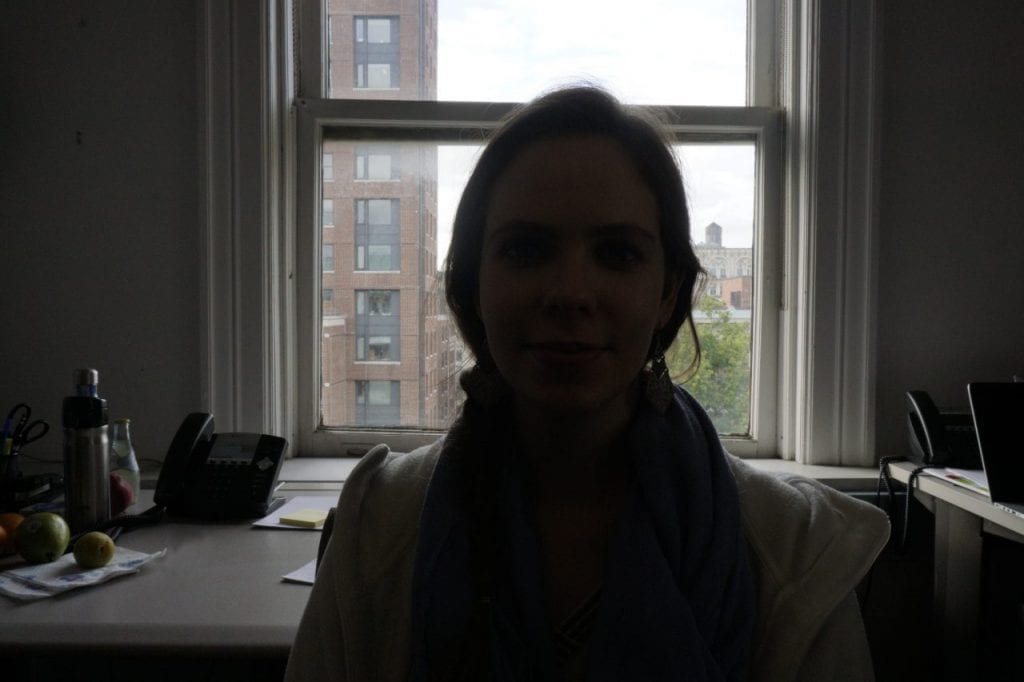
The photo at left features a backlit subject. In the photo at right, the light source is facing the subject.
Audio
- Good quality audio is just as important as the video quality. Consider using a quality USB microphone such as Blue Snowball or Yedi. No one will watch your video if they’re unable to hear or understand you!
- Use a headphone mic when recording audio only and no video. Mute your computer output volume to avoid feedback or echo during the recording.
- Position microphone in front of you at roughly a half arm length away.
- Use speakers or headphones to test your recorded audio levels. Conduct a test before you start recording.
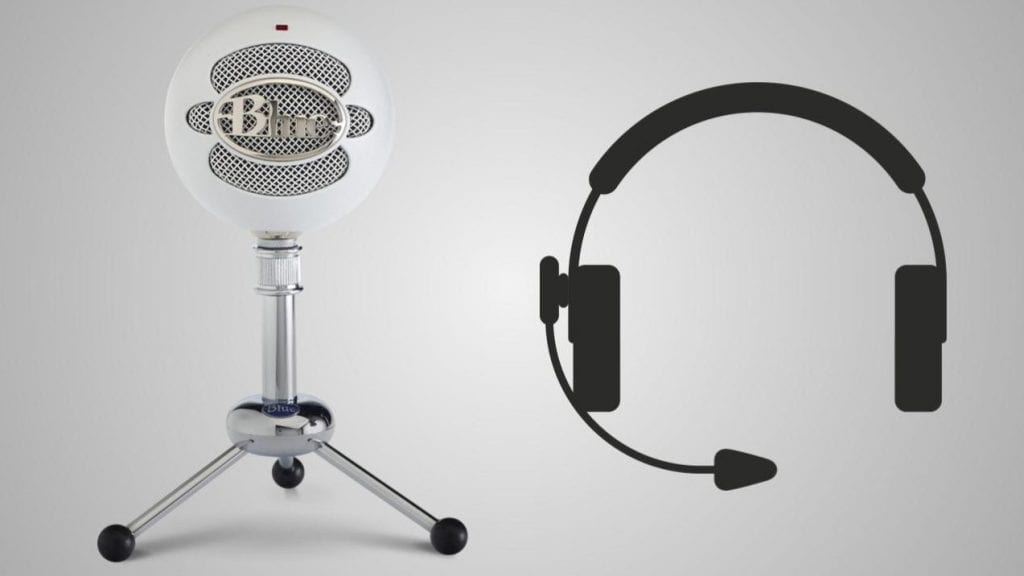
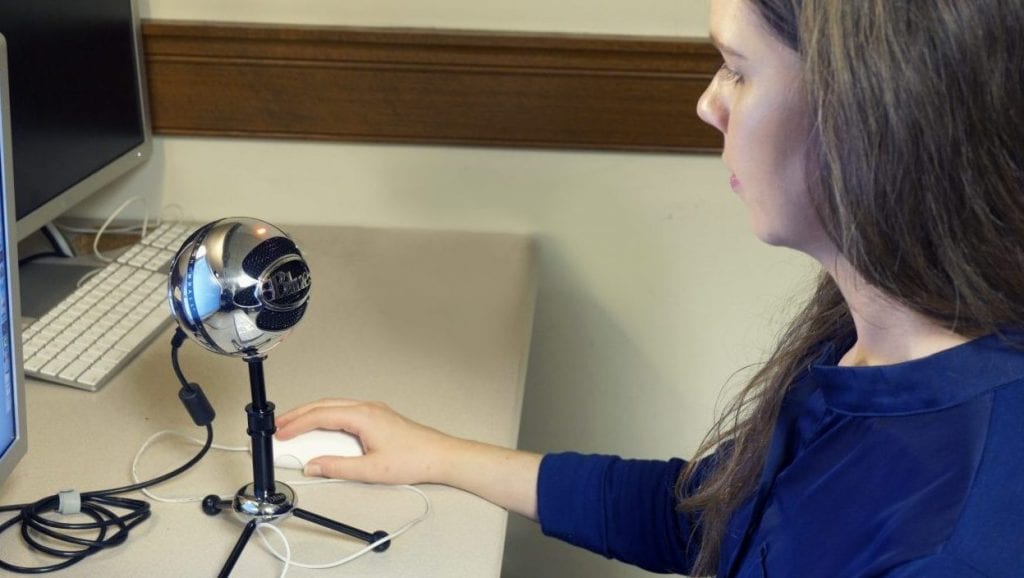
The photo at left shows examples of USB microphones. The photo at right shows the set up for a well-placed microphone.
Using Your Mobile Device as Document Camera
In addition to (or in lieu of) a webcam, a mobile device (iPhone, iPad, or Android) can be utilized as a document camera. This is a useful way to demonstrate artifacts or handwritten work in your presentation or during a video conference. The following instructions are for an iPhone/iPad; similar steps can be followed for Android devices:
- Attach your mobile device using the appropriate cable to your computer
- Open the Camera app and set it to the Photo or Video option
- Orient your device to landscape (horizontal) for best results
To record a document camera input, use the QuickTime Player app on your computer, Use the “New Movie Recording” command and change the source camera using the options next to the record button. To share the document camera for a Zoom meeting, use the Share Screen button, selecting the connected iPhone/iPad as the source. See Zoom’s Screen Share a Camera Input. A small tripod and a mobile-device grip may be useful to stabilize your device. (See this improvised setup from University of Nevada.)

Recording Your Presentation
- Rehearse your presentation as many times as needed.
- Keep videos around 3 to 6 minutes.
- Speak to the camera—that is your audience!
- Don’t be afraid to do multiple takes. If using a screencast software such as Camtasia, you can always pause and restart your recording.
- Once recorded you can edit your video to remove any unwanted sections.
- When screencasting, use a solid colored image or background on your computer desktop and close any programs not in use. Turn off notifications and remove or hide any icons you wouldn’t want visible in your video.
Publishing Your Video
- Consider where you intend to share your video. Will it be private or public?
- Columbia video platforms include CourseWorks (Canvas), Panopto, Mediathread, YouTube.
Media File Types
Source files are the media file formats used in the editing application and project development.
- Common camera recording formats: AVCHD (common in video cameras); TREC (Camtasia recorded video).
Export (sharing) files are the media file formats used for sharing and publishing the final video.
- Common formats: MP4/M4V, OGG, MP3, M4A
- Editing software programs typically offer sharing presets for many common online video platforms such as YouTube and Vimeo.
- The video can be exported and saved to a cloud service such as Google or locally to the computer or external hard drive.